Lighthaus
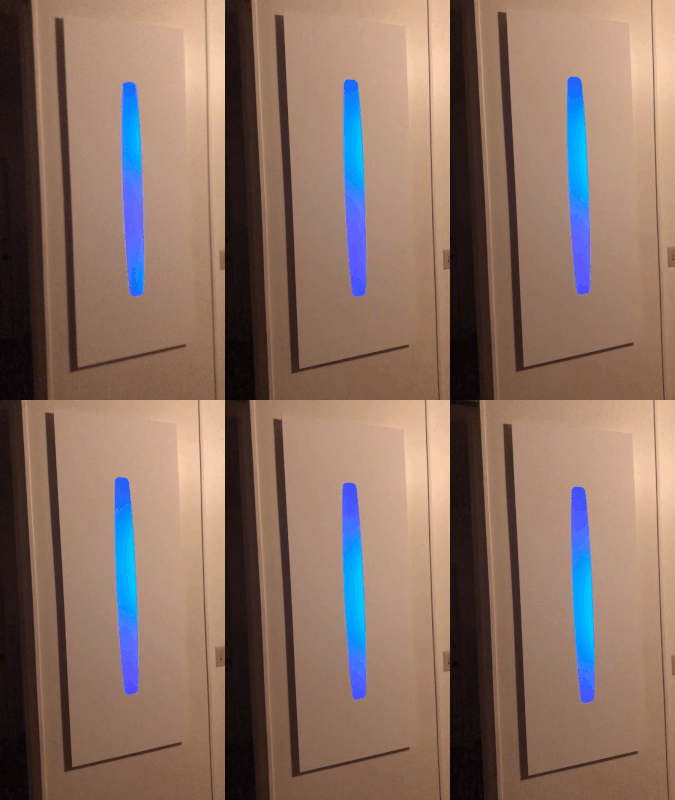
Lighthaus is an interactive light installation inspired by the artwork of James Turrell.
When we moved into our new house there were a lot of weird things left from the previous tenant. A rock wall in the living room, a 60s era drop ceiling, hooks basically everywhere, and a weird alcove in the living room.
We ended up leaving the rock wall, dropping the drop ceiling, and taking down the hooks. But the weird alcove remained.
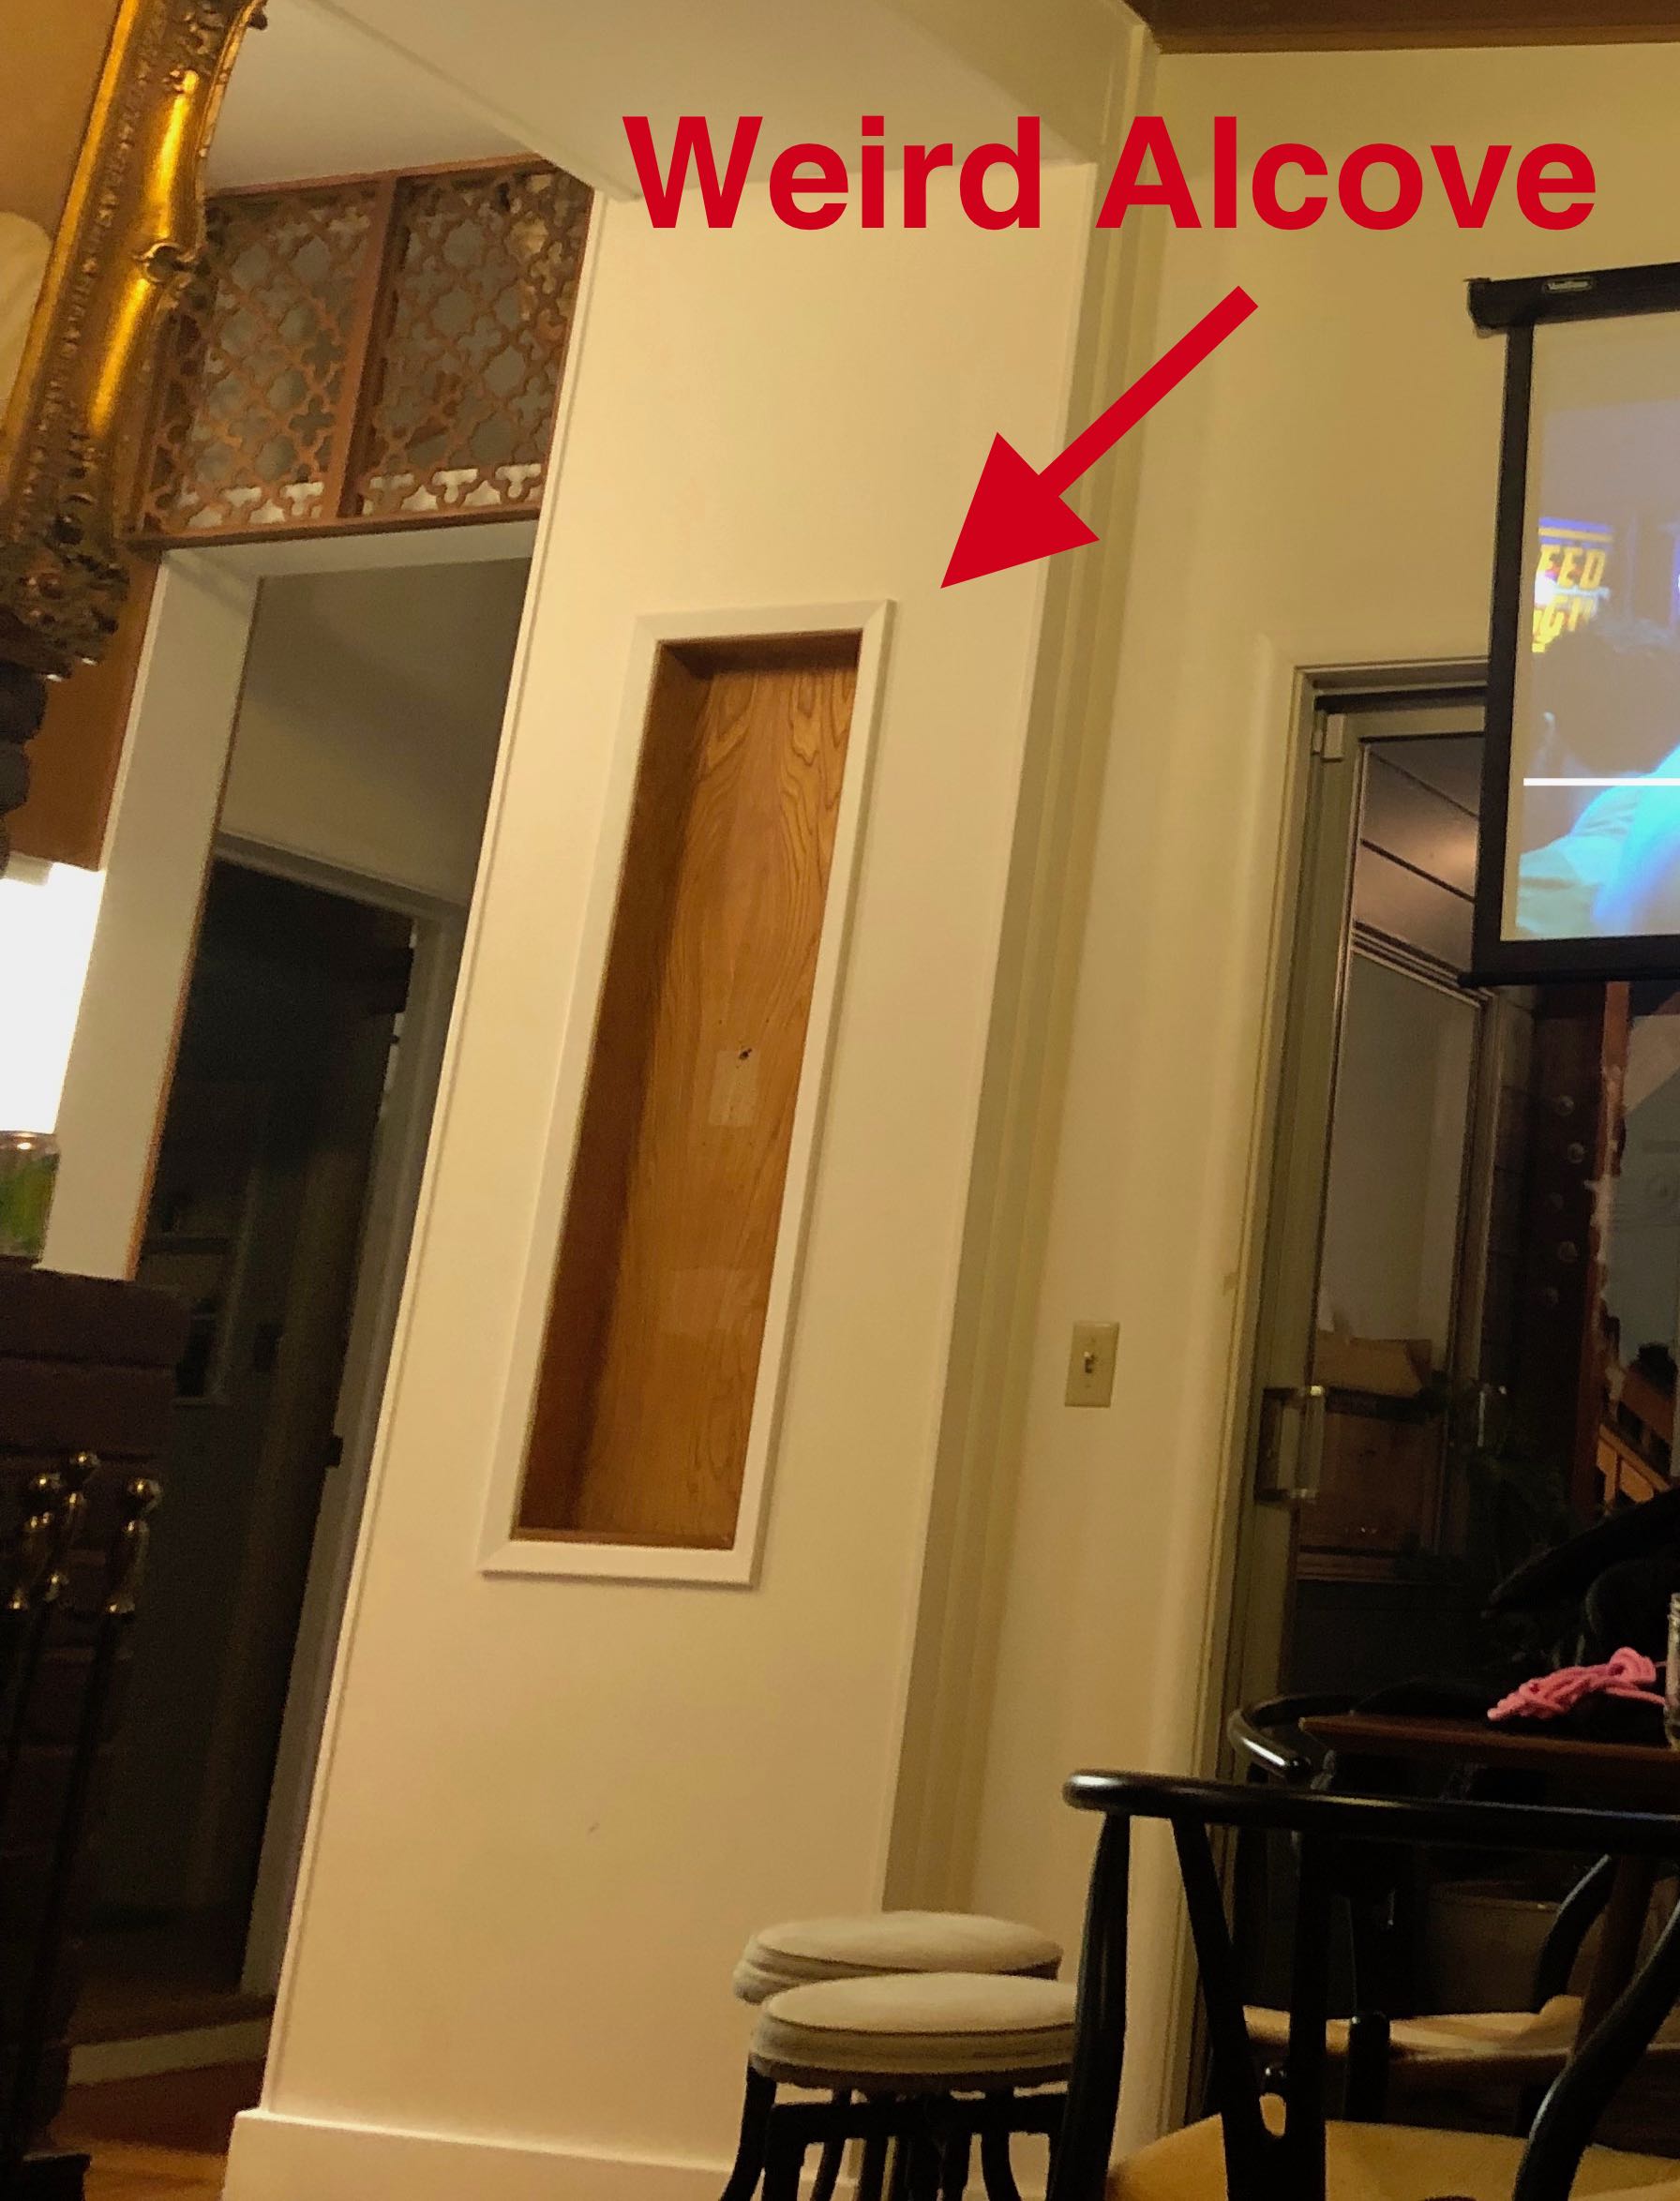
Rusty is a fan of James Turrell’s artwork and wanted to make some James Turrell inspired art for our house. The weird alcove, somehow, was the perfect place for a light installation!
Even if you haven’t seen the work of James Turrell before, you’ve probably seen Drake’s Hotline Bling music video which heavily borrowed inspiration from Turrell.

So Rusty designed Lighthaus.
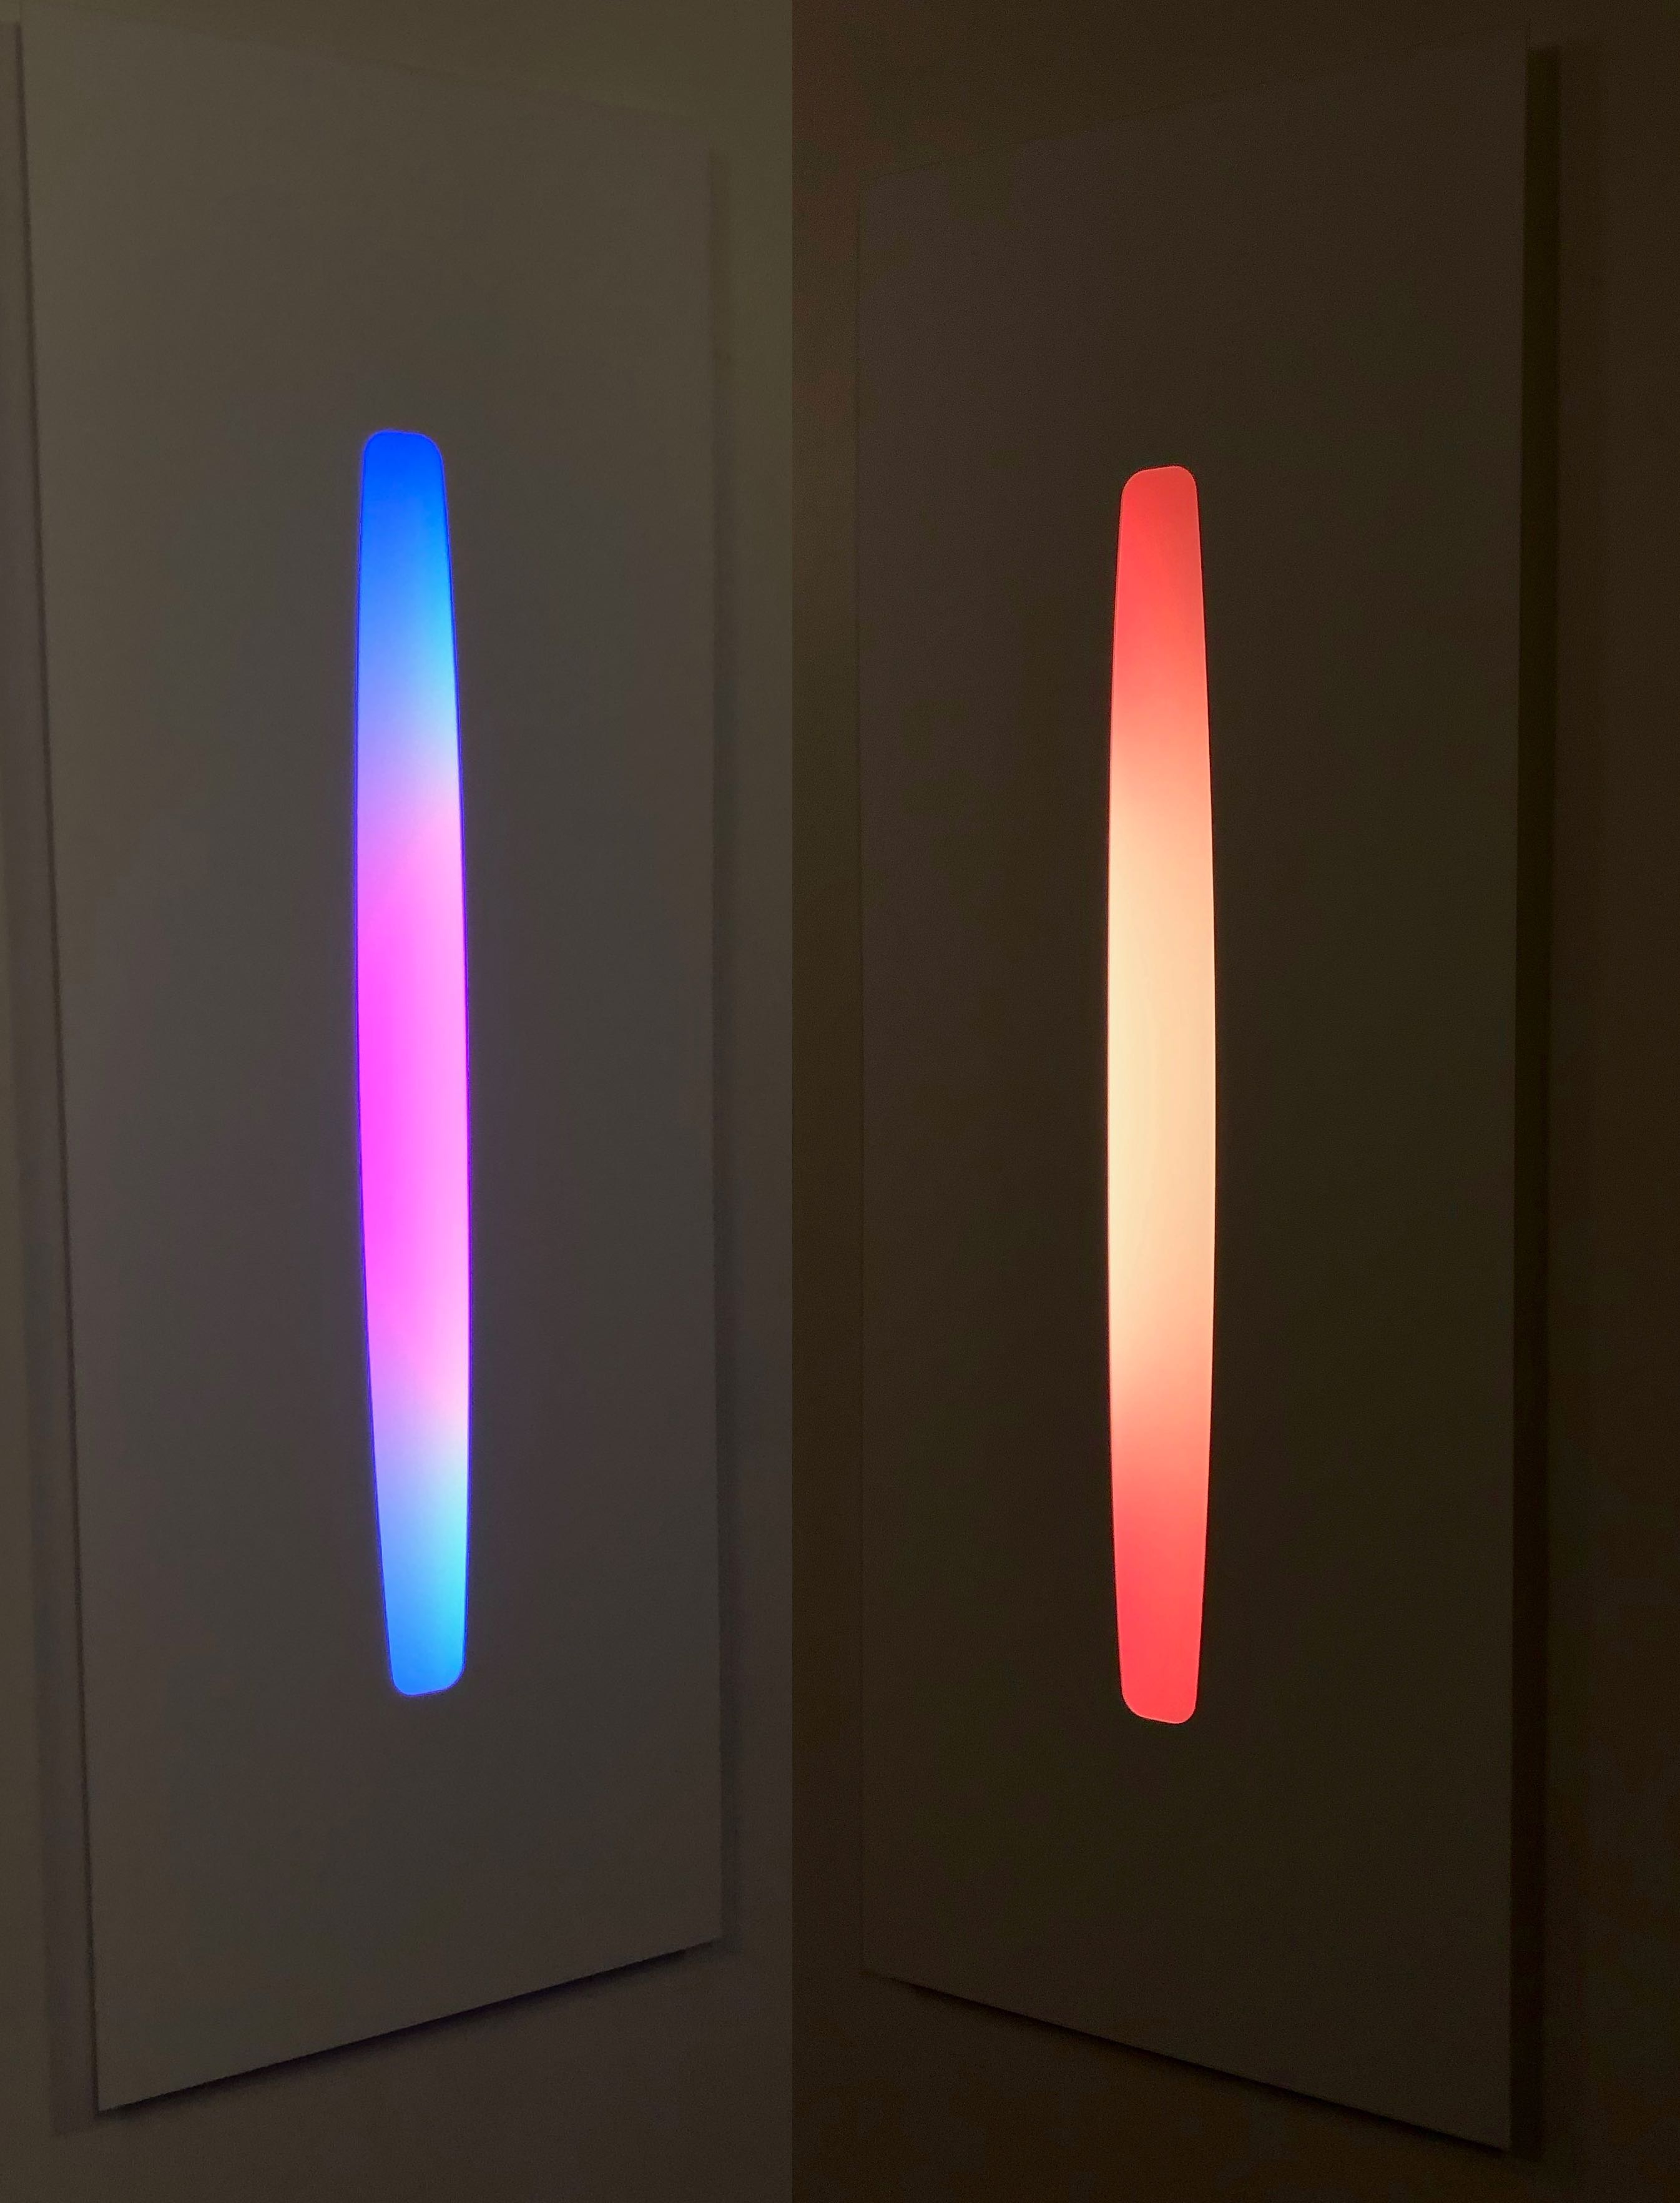
Lighthaus transforms the light from LEDs into a soft color space that illuminates the room. Colors change over naturally over the course of the day — a cool wakeup at sunrise, bright during the day, orange descent at sunset, to a soft glow in the night.
Lighthaus can also be controlled through an app. The viewer picks two colors along with a speed for the gradient, then clicks “Send” in the app.
The Mission
Lighthaus transforms our living room into a playful space. Party guests stare into the changing colors and play with their own color choices.
It’s been awesome to have a Lighthaus our home so we want to share that experience with more people by letting you make a Lighthaus for your own home!
But it’s a challenge to start from scratch. So we have taken a lot of our learnings and documented them here to make it easier for anyone to make a Lighthaus. We are open sourcing our design files, the controller for LEDs, and the code for the mobile application.
How to Make Your Lighthaus
Required Skills
Moderate Technical Ability
You will need to download code the the Raspberry Pi that controls the LEDs and do some debugging while setting up that system. But we have written the code so you won’t have to do any intense programming.
Moderate Hardware Ability
You will need to assemble the light enclosure from fabricated pieces. We will provide the design files that you can get cut at a hardware store or order online. Then you will need to do some drilling, screwing, hammering, and troubleshooting to put everything together.
Required Materials
Raspberry Pi — this is the brains of the light installation, make sure it has a WiFi Chip
This is a good kit on Amazon
LED Strips — 2 x 60
AdaFruit LED Strips — 1 meter
Power for LED Strips
Construction Materials for Light Enclosure
We used 3mm white acrylic from Pagoda Arts in San Francisco
The System
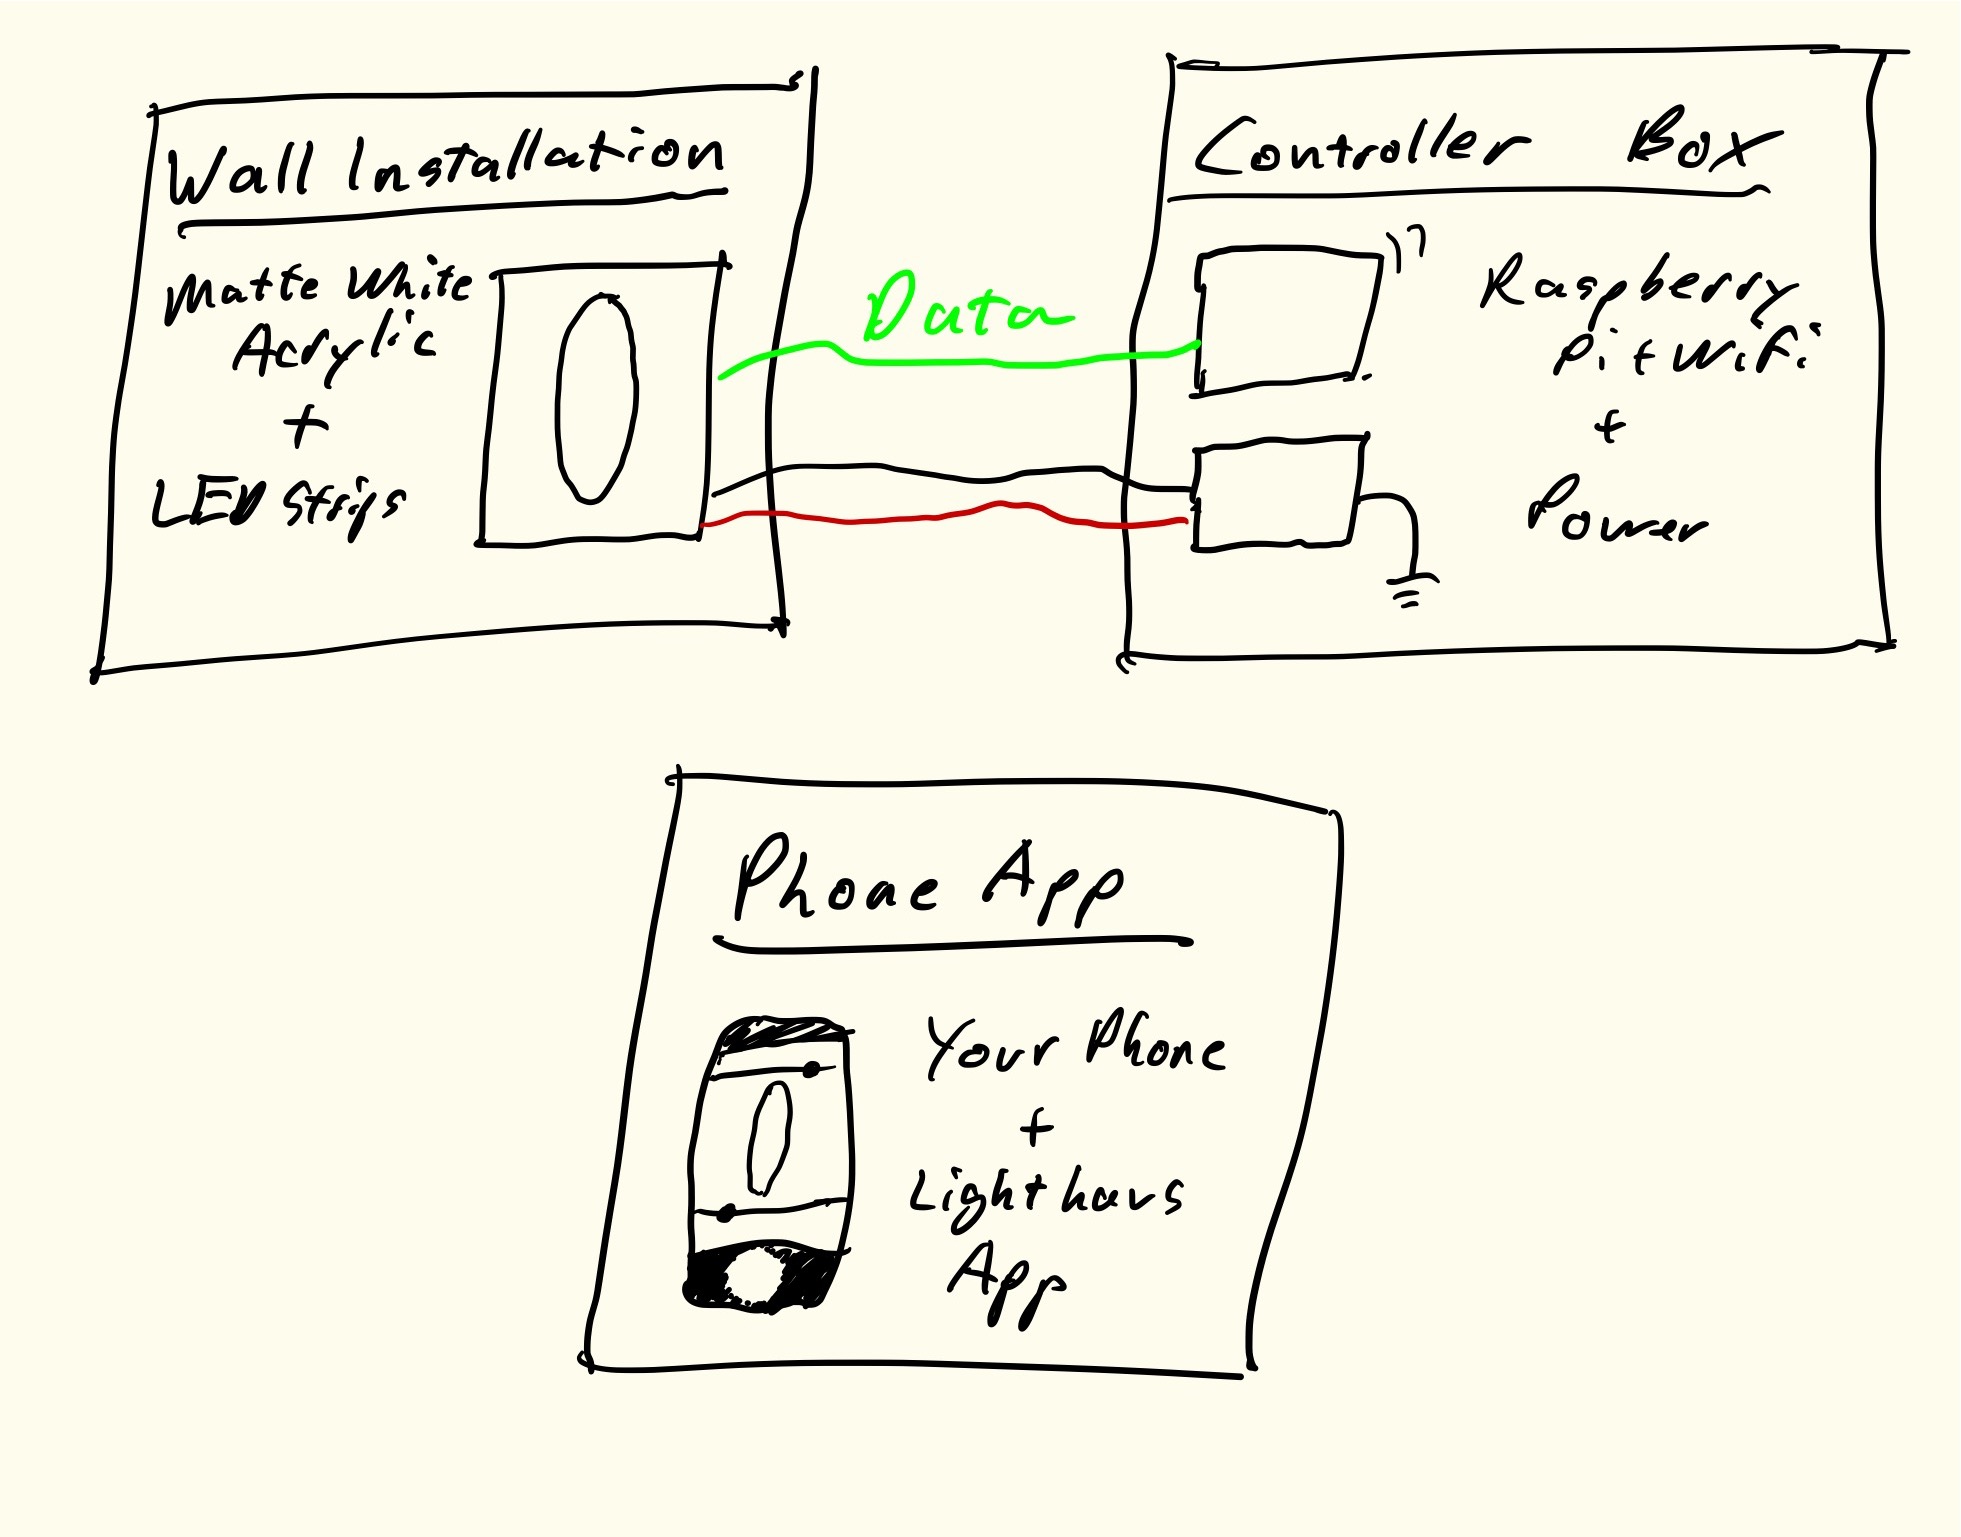
Wall Installation
It’s what you look at. Made out of 0.3mm laser cut acrylic with two LED strips.
Our installation is designed to fit into the wall alcove. But we are thinking about how to get it mounted on any wall.
Controller Box
We put this on the opposite side of the wall as the installation. This houses the Raspberry Pi and power adapter. The Raspberry Pi controls the colors and responds to commands from the phone app.
Phone App
Download this app to control your Lighthaus. Choose a color and gradient speed then send to the Lighthaus.
Wall Installation
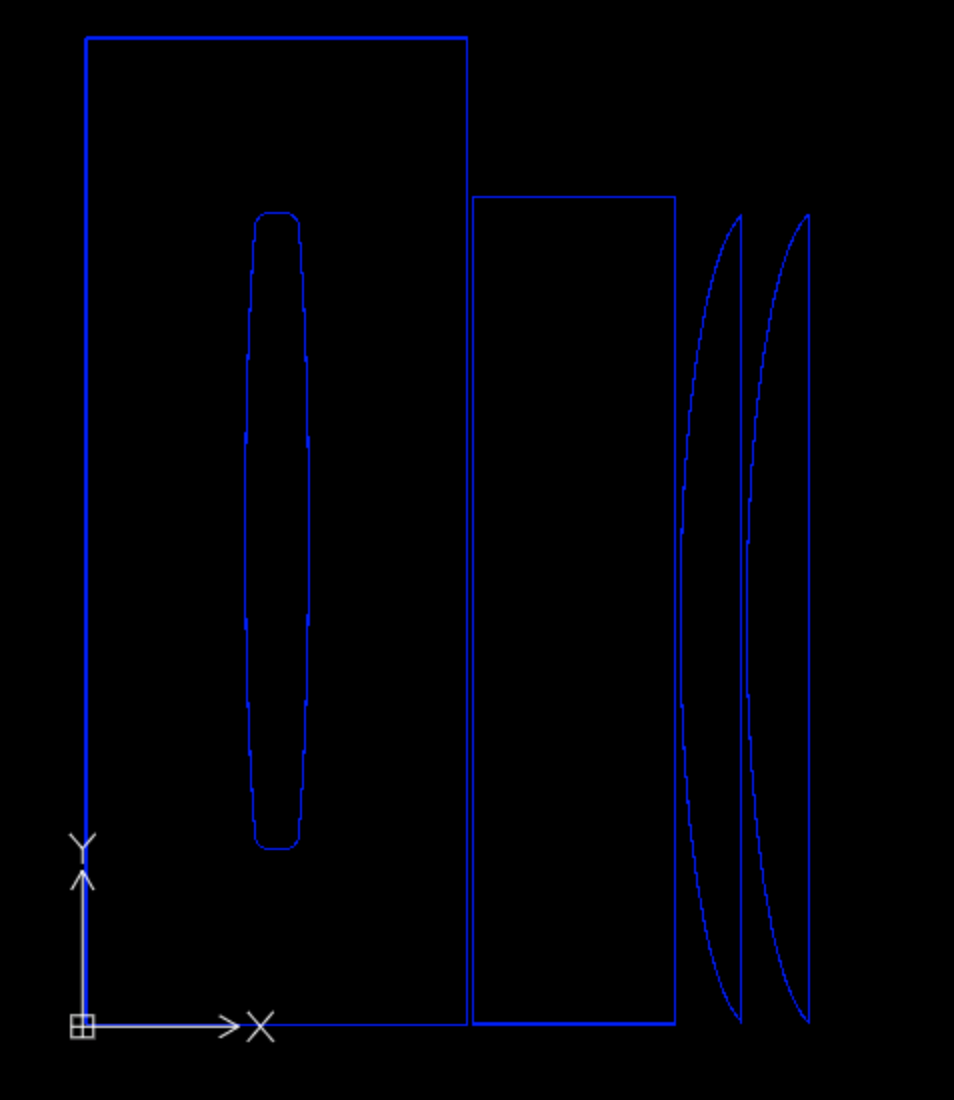
Our wall installation was designed to fit into the alcove.
It consists of four pieces — one backplate curves forms the background of the light, two curved side pieces enclose the light, and the front piece with an elongated rectangle allows light to shine through.
We stick the LEDs on to the front plate so that they face the back plate. Light bounces off the back plate before entering the room giving it a softer, more diffuse feel.
TODO: Rusty add more information about how the installation works
The pieces of our wall installation are made out of 0.3mm matte white acrylic ordered from Pagoda Arts in San Francisco. The DXF file determines the paths that the laser cutter will use.
Light Controller
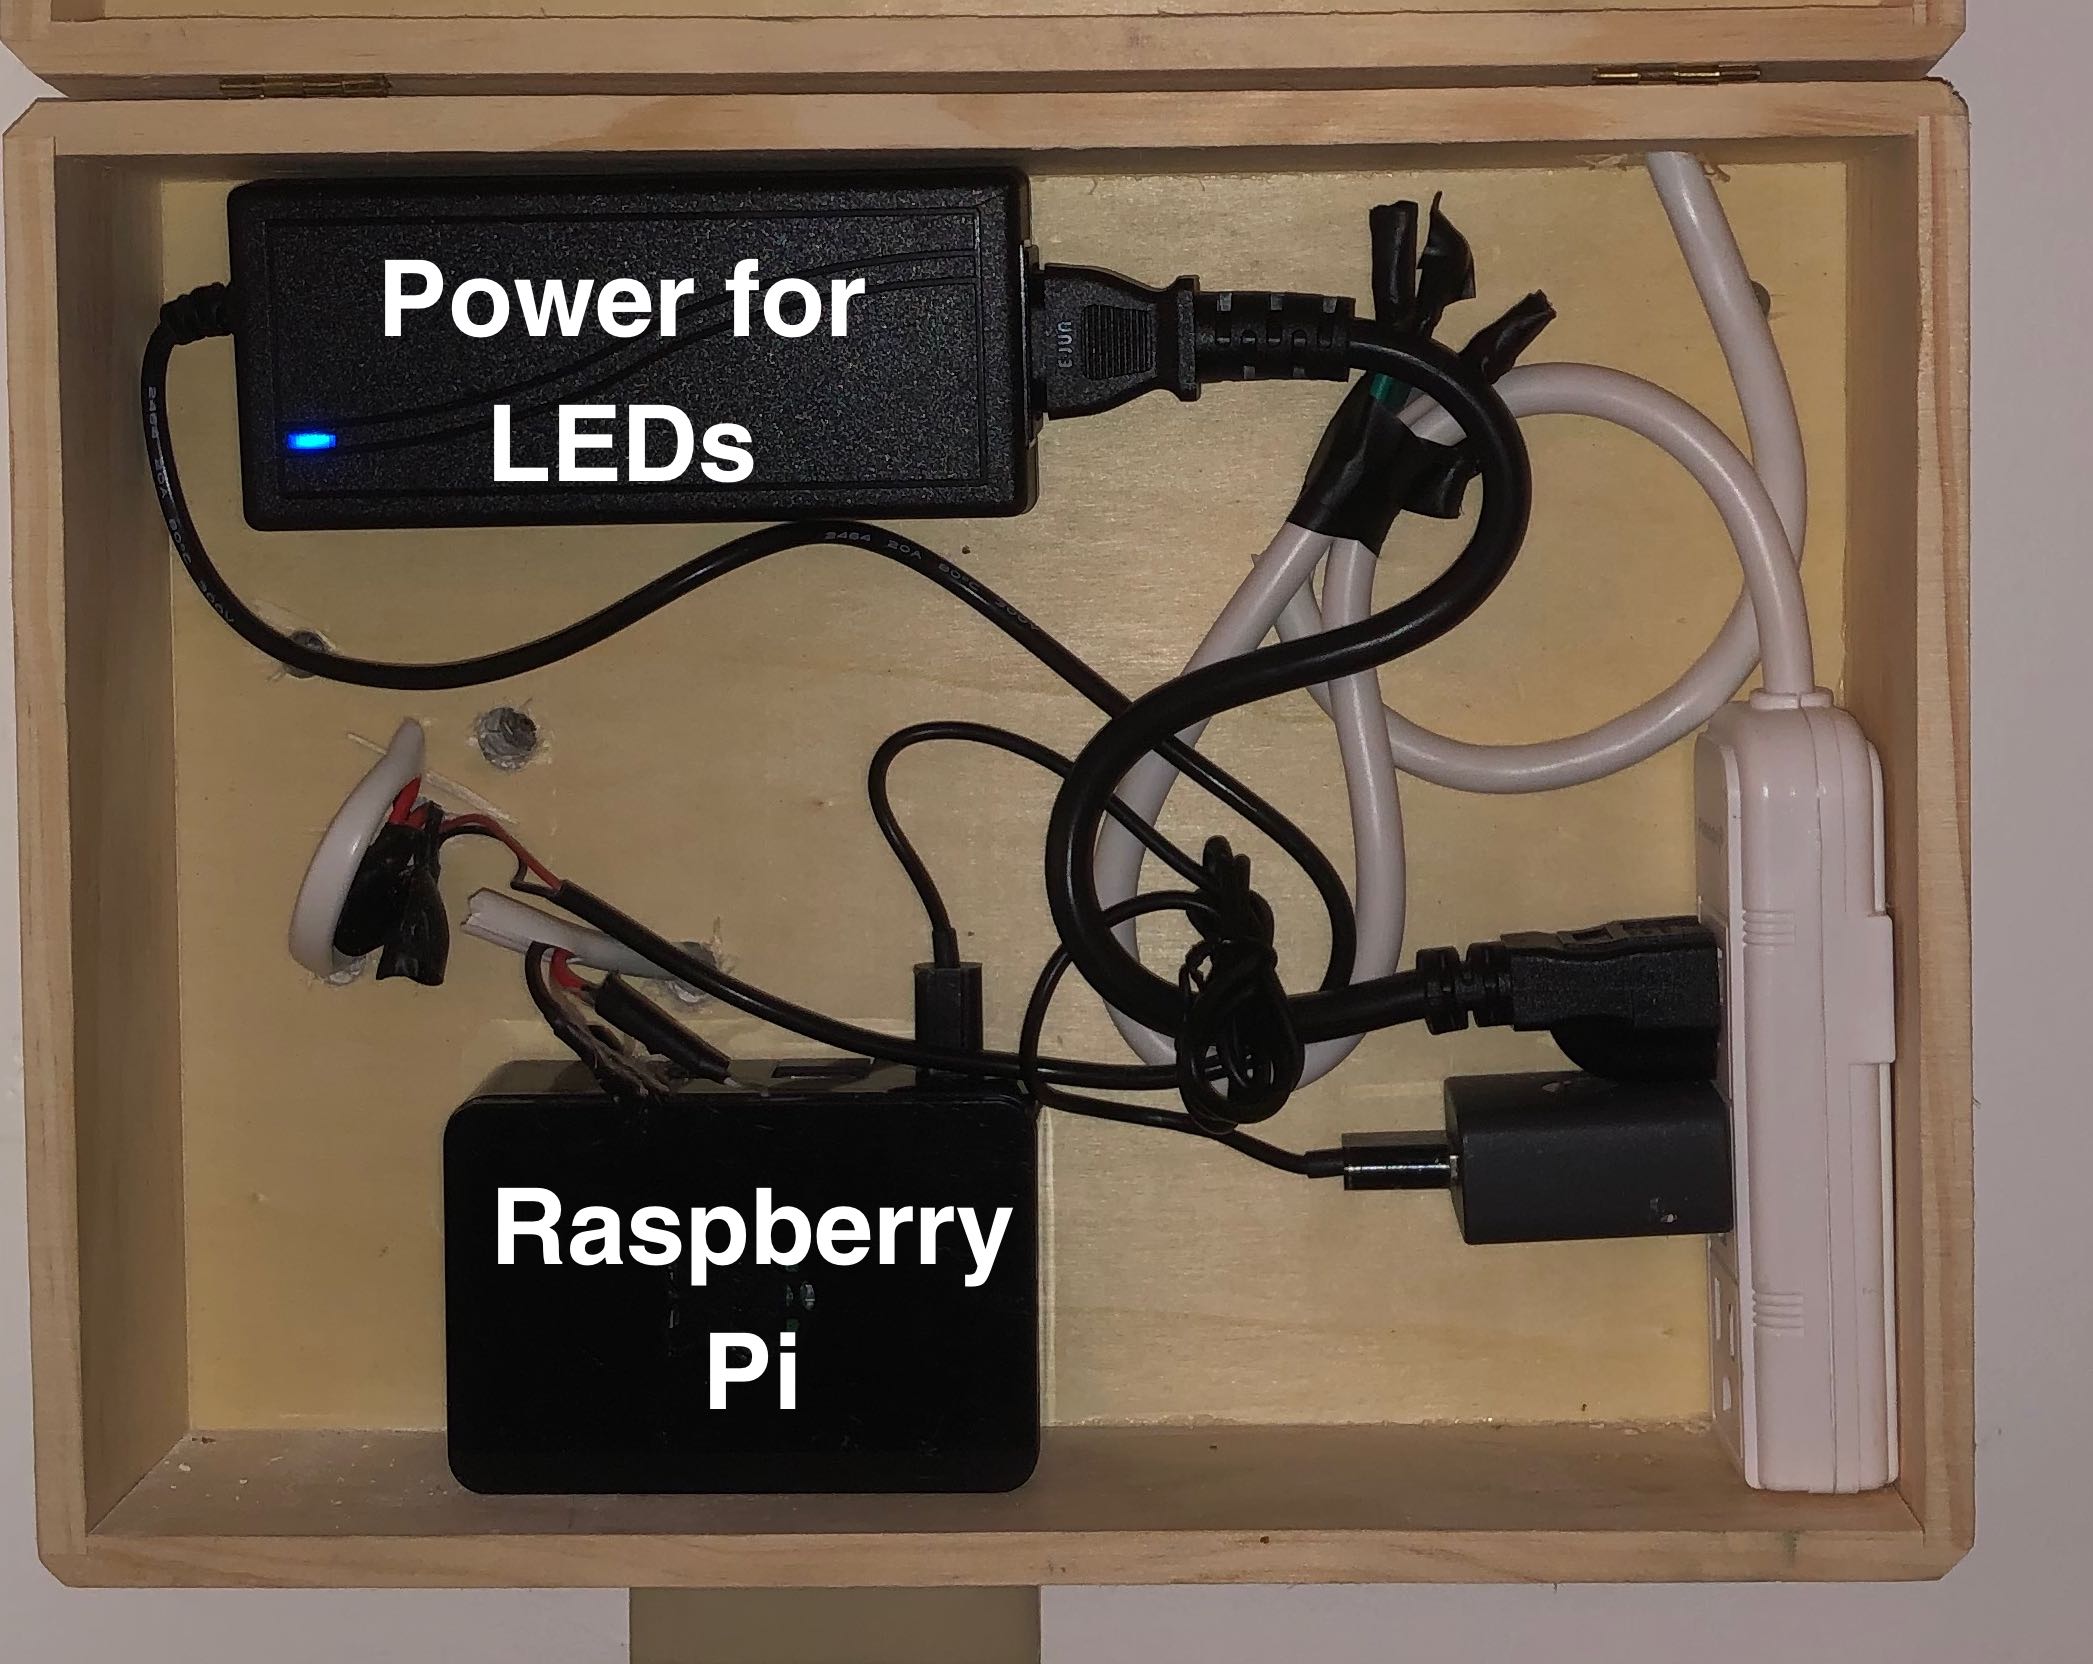
Raspberry Pi
The Raspberry Pi runs code in Python that decides what color each LED will be. The Rasperry Pi sends the descriptions of the LED via the digital output. (To control more LEDs you can use the Fade Candy chip.)
The Raspberry Pi fades the LEDs between colors and speeds that match the time of day.
There are 4 variables that define the state of the Lighthaus at any given time:
color_1— RGB color.color_2— RGB color.scroll_speed— How fast the colors move from top to bottom of the Lighthaus.brightness— Number from 0 to 1. Controls how bright the LEDs air. At night, a brightness of 1 is blinding, but during the day you will need brighter LEDs to see them while it’s sunny.
The phone app, detailed below, allows you to choose two colors and a scroll speed to the Raspberry Pi. The Lighthaus will then fade into the configuration requested by the user and then slowly fade back to the day schedule.
Fork the code here: https://github.com/ianrust/lighthouse
Power Supply
The controller box also has a power supply for the LEDs. You will need a different power supply depending on the LEDs you use, but for our set up this 5V 10A power supply on Adafruit sufficed.
Mobile App
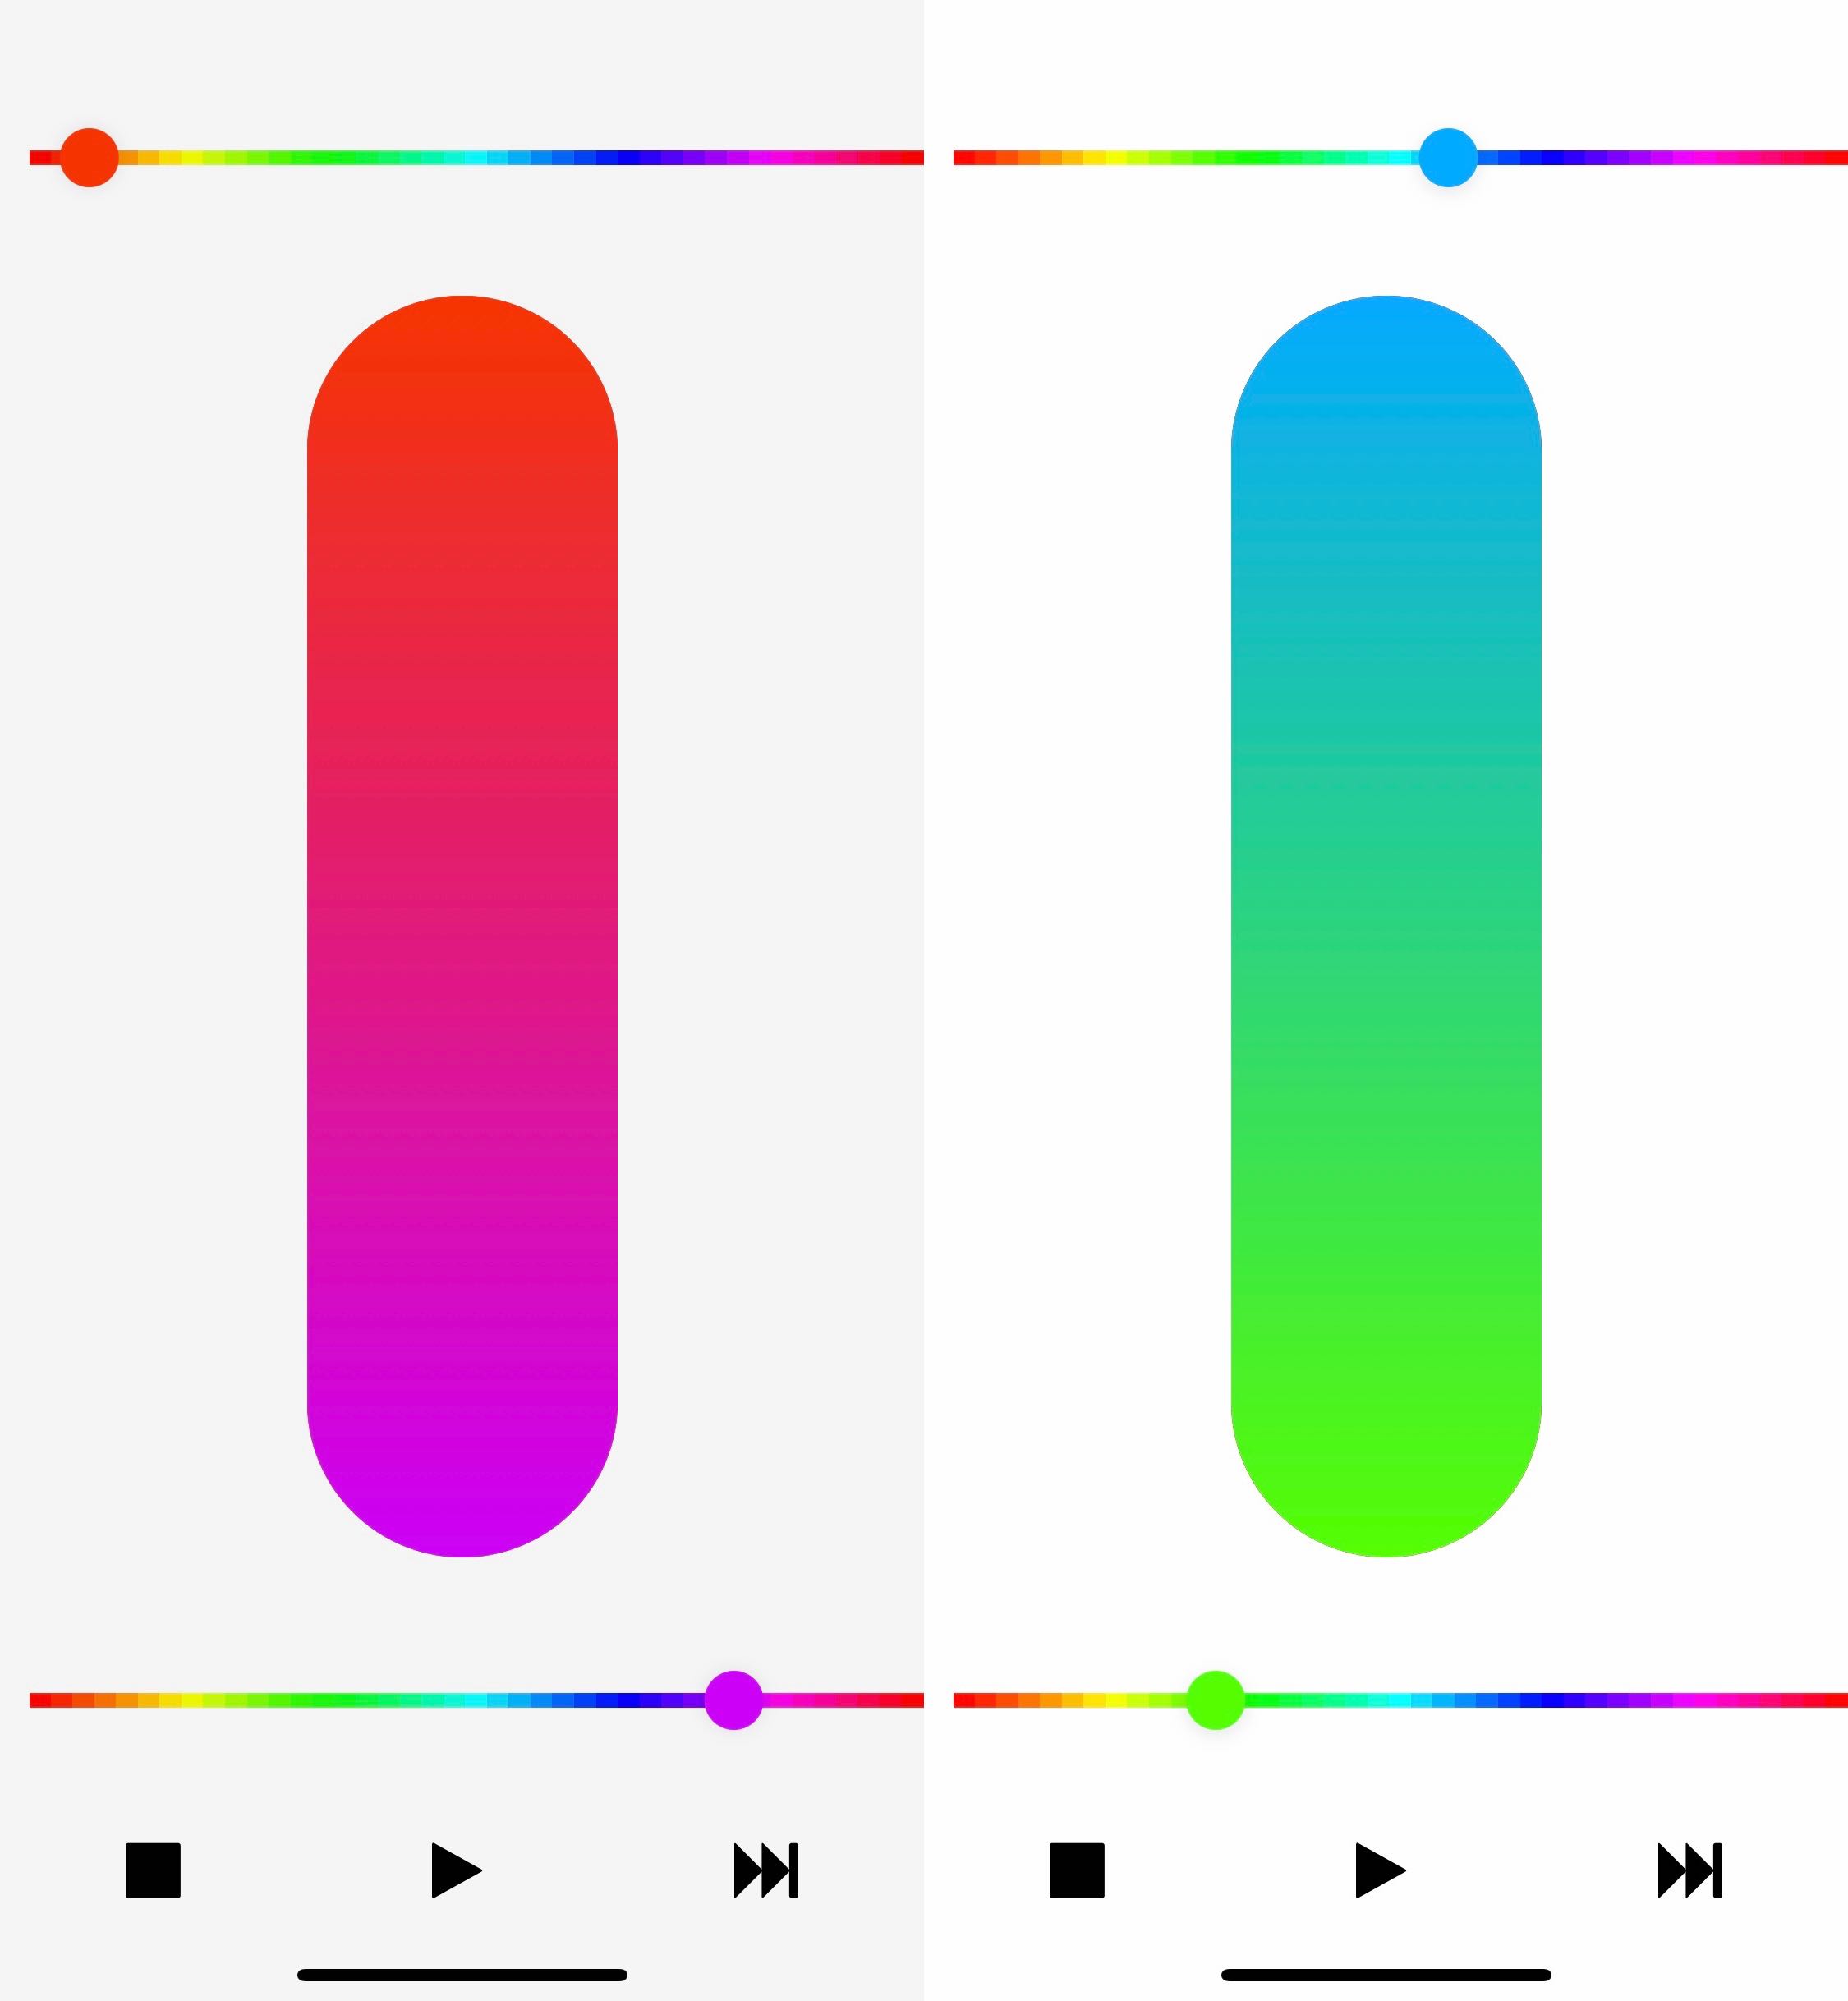
The mobile app allows you to pick two colors and a scroll speed to send to the installation.
Right now the mobile app has the IP of the Raspberry Pi configured. We are working on making the Raspberry Pi IP a configurable variable in the app. And then we will publish instructions to help you figure out the IP of your Raspberry Pi.
TODO: make the UX nicer
TODO: publish lighthaus app in the app store
Fork the code here: https://github.com/vpontis/lighthaus-app
Ian and Victor
